PLAYWRIGHT : Automation Tool
1. What is PLAYWRIGHT
- Playwright is the free and open source framework for web automation testing
- It can be used for performing automation testing on Web Browser Application
- Supported Applications
- Web Browser Apps
- Mobile Web Apps
- API
- Supported Languages
- JavaScript
- TypeScript
- Java
- Python
- .NET(C#)
- Supported Browsers ( Headed or Headless )
- All modern engine chromium
- Webkit
- Firefox
- Supported OS
- Windows
- MacOS
- Linux
- Official Website
- https://playwright.dev/
2. Features Of Playwright
- Free and open source tool
- Multi Browser , Multi Language and Multi OS support
- Easy setup and configuration
- Functional , API and Accessibility testing
- Built in and Custom reporter
- CI CD and Docker support
- Recording
- Debugging
- Explore Selectors
- Parallel Testing
- Auto Wait
- Built In assertion
- Logs , Screenshot and video supporting
- Multi tab and Multi Window Execution
- Support IFrames
- Fast Execution
- Test Parameterization , Data driven testing
3. Installation
- Prerequisites
- Node Js
- IDE ( Visual Studio Code)
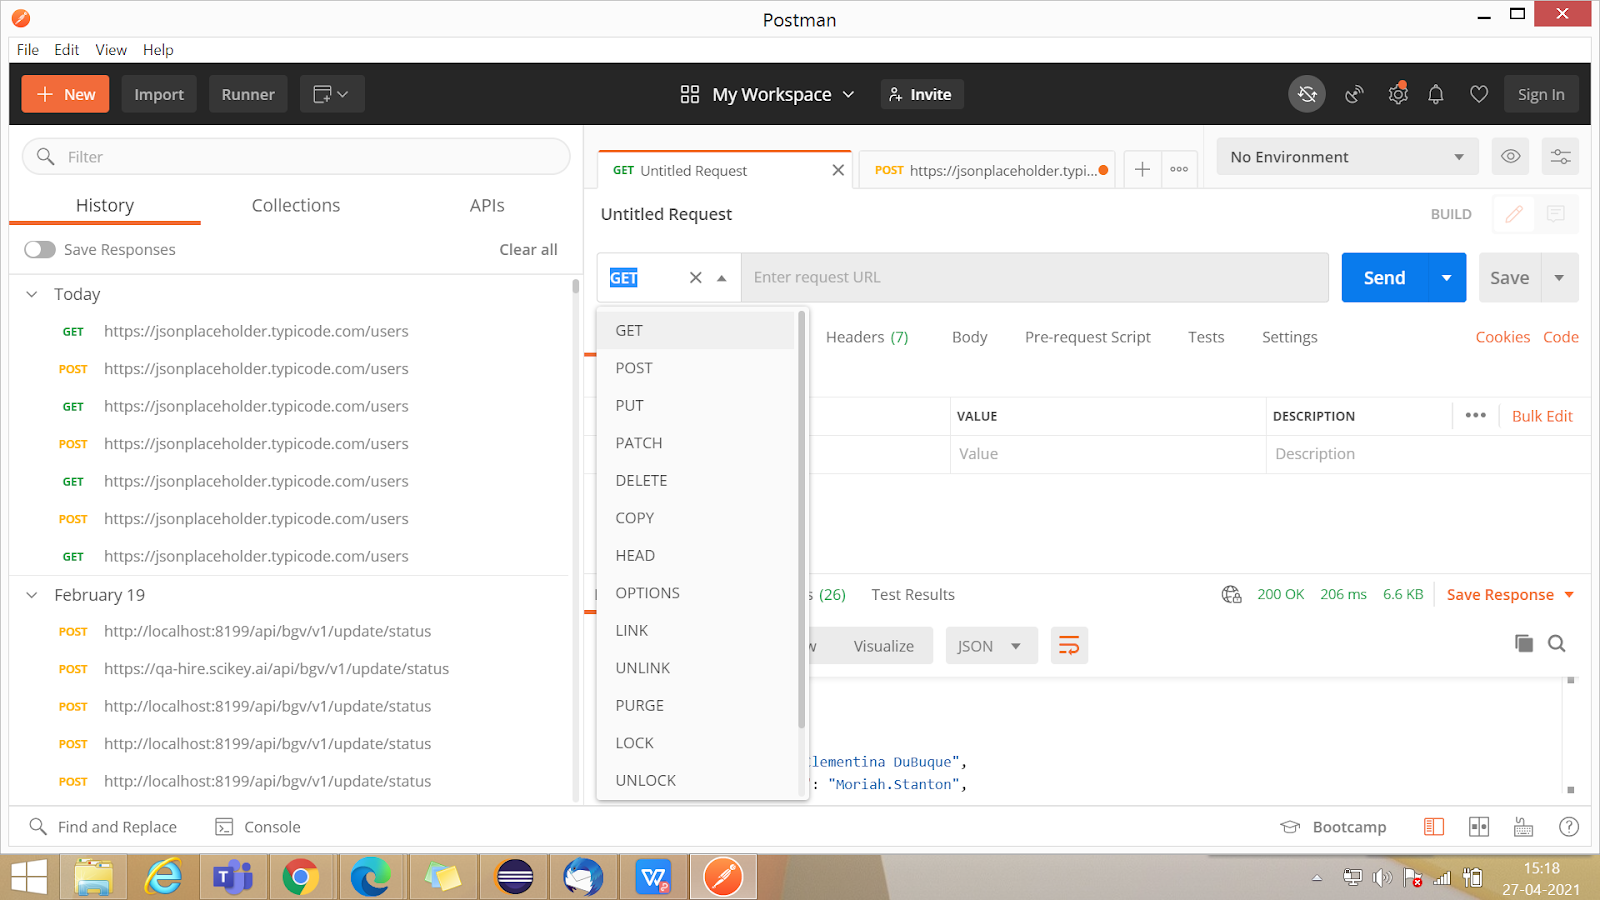
- Installation Using npm package command
- Create new folder
- Open it in VS Code
- Go to Terminal and run the command npm init playwright@latest
- Above command is use for installing the latest version of playwright
- Check the playwright version using command npm playwright -v

1.0 Playwright Folder Structure
- Files And its usage
- Package.json : Node Project management file , all the dependencies were added in this file
- playwright.config.js : Configuration file. Default configuration like test directory , timeout etc
- Test Folder : sample basic example file for reference
- .gitignore : this file can be used for git commit and push
- playwright.yml : this file can be used when we want CI CD pipeline using github workflows
- Installation Using vs code extension
- Create new folder
- Open it in VS Code
- Go to extension in left menubar
- Search for the playwright in searchbar
- Click on first result playwright test for vscode
- Click on install

1.1 Playwright extension
- Click on view on top menu bar
- Click on command palette
- Write playwright , in the dropdown you will be able to see the command playwright install
- Click on okay and press enter
- The same structure will be created as per image 1.0
4. Commands
- npx playwright test
- This command will run all test on all browser in headless mode
- npx playwright test --workers 3
- Run all(3) workers in parallel
- npx playwright test one.spec.js
- It will run a specific test file with given name
- npx playwright test one.spec.js two.spec.js
- It will run the specified file
- npx playwright one two
- It will run all the files which has specified text in their name
- npx playwright test -g "this is title"
- it will run the file that has specified title
- npx playwright test --project=chromium
- to run the test on specific browser
- npx playwright show-report
- it will open the generated report in browser after execution
- npx playwright test --headed
- it will run the test in headed mode
- npx playwright test --debug
- it will run the test in debug mode , whenever you want to debug the code you can use this command
- npx playwright test one.spec.js --debug
- to debug a specific file
- npx playwright test one.spec.js:5 --debug
- to debug specific file from specific line number
5. How to write your first test
- Create New file under test folder with name first.spec.js
- include the playwright module using below code
- require('@playwright/test')
- If you want to import some specific modules from the package you can use below code
- const { test, expect } = require('@playwright/test')
- Here playwright provide the test function for writing testcases and expect function for Assertions
- Create a test block : test( Title , testFunction)
- Add the code block like this
- test('First test', async ({page}) => {await page.goto('https://google.com')await expect(page).toHaveTitle('Google')})
- Now here the test block is use for defining the testcase that we want to execute
- page is the object of particular page
- goto('url') method is use for redirecting to particular webpage
- expect(page).toHaveTitle('title') is use for assertion of the webpage title
- Here we are using async and await as node js is asynchronous by default in nature so it will not wait for any execution but in the automation we wat sequential automation steps to be executed that's why we need to use async and await so it will wait for first statement to be completed and then only it will execute 2nd statement
- After adding the code run the command npx playwright .\tests\first.spec.js --headed
- It will run the test in different browser and will generate the report
- You can check the report under playwright-report folder
- In the playwright we have a tool called Codegen which we will use for recording our test execution
- Steps
- Open terminal and run the command npx playwright codegen
- It will open two windows
- The browser window where our actual execution will be done
- Playwright inspector window to record test execution
- You can put both of windows in split screen
- Check this video for more info in detail
- In the opened browser perform the actions for which you want to record the script
- Whenever you will perform any action it will add the code for that particular action in inspector window
- Once you are done with the interaction with browser in the playwright inspector you will be able to see copy button , from where you will be able to copy the code
- Go to vs code , under tests folder create new file second.spec.js
- paste the code within that file
- run the file with command npx playwright test .\tests\second.spec.js --headed
- it will perform the action that you had recorded with the codegen
- you can use command npx playwright codegen --help to see all the available commands with codegen
7. Command that can be used with codegen
- npx playwright codegen --browser firefox
- This is used for opening the codegen with specific given browser
- npx playwright codegen --target javascript -o .\tests\record1.spec.js
- This command will be used for directly copying the code to specific output file in specific language. so here javascript is the language and record1.spec.js is the output file where it will save the code
- npx playwright codegen --viewport-size=800,600
- This command is used for opening the browser with given size
- npx playwright codegen --device="iPhone 11"
- This command is used for running the script on emulated device
8. Trace Viewer
- Trace viewer is the GUI tool that can be used for tracing the executed test with the timeline , snapshots and other details
- Go to config file of your project . In the config file there will be once option with trace : 'on-first-retry' which is used for tracing the data on the first retry. Also add the retries: 1 for tracing the data after first try
- Now in the code change some selector ( ex. add wrong selector)
- Run the test
- it will run the test for first time , after that it will try again to run and then it will get failed
- After completion of execution the folder named test-results will be created and there will be one zip file for tracing with name trace.zip
- Once execution will be completed it will open the report
- In the report you will be able to see 2 tabs
- Run
- Retry #1x
1.2 Tracing Report

- In the retry execution block if you scroll down you will be able to see the trace link , click on that link and you will be redirected to the trace viewer where you will be able to see the snapshot of every time
- Where there will be 2 part Actions and metadata. In Action you will be able to see all the performed actions and in the metadata you can check the time , browser , size etc
- On the right side there is different options for checking console logs , network tab , source etc
 |
| 1.3 Trace Report Metadata Tab |
 |
| 1.4 Trace Report Action Tab |
- You can also open the trace viewer by using the below command
- npx playwright show-trace .\test-results\second-test-chromium-retry1\trace.zip
- Trace Viewer Options:
- on-first-retry : it will record the trace only when retrying the test for first time
- off : it will not record trace for any execution
- on: it will record trace for each and every execution
- retain-on-failure: it will record trace for each test but it will remove it from successful test runs
- Setting trace viewer from the coding
- test('has title', async ({ page, context }) => {await context.tracing.start({screenshots: true,snapshots: true})await page.goto('https://playwright.dev/');// Expect a title "to contain" a substring.await expect(page).toHaveTitle(/Playwright/);await context.tracing.stop({path: 'test1_trace.zip'})});
- here we had added the context object which refers as browser object
- for start the tracing we were using context.tracing.start() and we can define our required things within the start block like snapshot , screenshot , etc.
- for closing the tracing we were using context.tracing.stop() and within that we can define the path of zip file where all the tracing data will be stored
- If you want to start the trace before every test then we can use beforeAll hooks. Below is the sample code that you can use
- let context;let page;test.beforeAll(async({browser}) => {context = await browser.newContext();context.tracing.start({snapshots: true,screenshots: true});page = await context.newPage();})test.afterAll(async() => {await context.tracing.stop({path: 'trace1.zip'})})
9. Locators in Playwright
- In the playwright there is one class with name locator which can be used for adding the locators while creating the script
- We can use different type of locators for defining the element
- Using object property
- We can use different properties of the object to define the locators like class , id , name , value etc.
- For accessing the element using object property we need to use below code
- page.locator('locator-property=value')
- eg. page.locator('id=username')
- here the id is one of the property of the object (tag or element in html) and username is the value of that attribute
- Using css selector
- we can use css selector for finding the element on the webpage
- for accessing the locators using selector we need to use below code
- page.locator('css selector')
- eg. page.locator('#username')
- for finding the css selector you can right click on particular element → click on inspect → right click on html element → click on copy → click on css selector
- Using xpath
- We can use xpath for finding the element on the webpage
- for accessing the locators using xpath we can use below code
- page.locator('xpath=//input[@id="name"]')
- page.locator('//input[@id="name"]')
- for defining xpath it will start with '/' or '//' after that we need to provide the tag name for which we want to find the xpath and then we need to provide the attribute with its value
- For more details related to xpath please refer the following doc
- https://www.guru99.com/xpath-selenium.html
- Using Text
- We can also use text for finding the element on page
- page.locator('text=LOGIN')
- page.locator('input:has-text("LOGIN")')
- Using Playwright inspector
- Open codegen
- Click on explore
- Hover over any element it will show the xpath for the elements
- You can copy the xpath from the explore tab and use it in your script
10. Assertion in Playwright
- When we want to compare the actual result and expected result at that time we can use the assertion. Assertion simply means verification
- In playwright we can use expect library for assertions
- There is 2 types of Assertions
- Soft Assertion: it will not stop the execution if assertion gets failed
- await expect.soft(page.locator('//input[@id="name"]')).toHaveCount(1)
- Hard Assertion: it will stop the execution if assertion gets failed
- By default assertion will be hard assertion
- We can use assertion with the following checks
- Element is present or not on webpage
- Element is visible or hidden
- Element is enabled or disabled
- Text is matches to some predefine value or not
- We can check attribute value of an element
- We can check webpage URL
- We can check webpage title
- We can also check the webpage UI with the given screenshot
- Element is present or not on webpage
- Syntax:
- await expect(page.locator('//input[@id="name"]')).toHaveCount(1)
- this will check for the element with id=name is present or not on the webpage
- if you want to do some action based on the visibility of some element at that time different syntax can be used
- if(await page.$('//input[@id="name"]')){await page.locator('//input[@id="name"]').click()}
- Element is visible or hidden
- Syntax:
- await expect(page.locator('text=The Kitchen')).toBeVisible()await expect(page.locator('text=The Kitchen')).toBeHidden()
- toBeVisible() will check that element is visible or not
- toBeHidden() will check that element is hidden or not
- Element is Enabled or Disabled
- Syntax:
- await expect(page.locator('text=The Kitchen')).toBeEnabled()await expect(page.locator('text=The Kitchen')).toBeDisabled()
- toBeEnabled() will check that element is enabled or not
- toBeDisabled() will check that element is disabled or not
- Text is matches to some predefine value or not
- Syntax :
- await expect(page.locator('text=The Kitchen')).toHaveText('The Kitchen')await expect(page.locator('text=The Kitchen')).not.toHaveText('YZA')
- toHaveText('text') will check whether element text is matched with given text or not
- .not.toHaveText('text') will check element doesn't have the given text
- Check attribute value for an element
- Syntax:
- await expect(page.locator('text=The Kitchen')).toHaveAttribute('class', 'chakra-heading css-dpmy2a')await expect(page.locator('text=The Kitchen')).toHaveClass('chakra-heading css-dpmy2a')
- toHaveAttribute('attribute', 'value') will check whether the specific attribute is there or not with the predefine value
- toHaveClass('classname') will check whether locator has class name attribute with predefine value or not
- Check Webpage URL
- Syntax:
- await expect(page).toHaveURL('/kitchen.applitools.com/')
- it will check that url of the page matches with given url or not
- Check Webpage Title
- Syntax:
- await expect(page).toHaveTitle('Kitchen')
- it will check that title of page matches with given title or not
- Visual Validation
- Syntax:
- await expect(page).toHaveScreenshot()
- it will check that actual UI is matched with the screenshot or not
11. How to Record the execution
- Playwright provide the configuration for recording the test execution and executing the test in slow motion. Below are the steps to implement it
- open the playwright.config.js file
- find the use block and add below code snippet
- video: 'on',launchOptions: {slowMo: 1000},
- Here video: 'on' will be used for enabling the video recording while execution
- 'launchOptions: {slowMo: 1000} it will slow down the execution by 1000 ms
- After adding this block run the file and you will observe the slowness while execution
- Once execution is completed open the report in the end of report you will be able to see the recorded video of execution
- There is another way for recording the execution using the browser context. Below is the code snippet
- import {test, expect, chromium} from '@playwright/test'test('slowmotion', async() => {const browser = await chromium.launch({slowMo: 1000,headless: false})const context = await browser.newContext({recordVideo: {dir: 'videos/',size: { width: 900 , height: 700}}})const page = await context.newPage()await page.goto('https://practicetestautomation.com/practice-test-login/');await page.getByLabel('Username').fill('student');await page.getByLabel('Password').fill('Password123');await page.getByRole('button', { name: 'Submit' }).click();await page.getByRole('link', { name: 'Log out12' }).click();await page.close()})
- After running the code you will be able to see the videos folder and within that the recoded video will be stored
12. Hooks in playwright
- When we want our code to be reuse and when we want to run some code before or after each or all testcase execution at that time hooks can be used
- Below are the different hooks
- beforeAll: when we want to run some block of code before all the test execution
- afterAll: when we want to run some block of code after all the test execution
- beforeEach: when we want to run some block of code before each test execution
- afterEach: when we want to run some block of code after each test execution
- For eg. when we want to execute testcase related to some ecommerce website so before performing any action we need to logged in to website so we can make login code block as beforeEach hook so that it will login to system before execution of each test
- Below is the code snippet that can be used
- const { test, expect } = require('@playwright/test');test.beforeEach(async({ page }) => {await page.goto('https://practicetestautomation.com/practice-test-login/');await page.getByLabel('Username').click();await page.getByLabel('Username').fill('student');await page.getByLabel('Password').click();await page.getByLabel('Password').fill('Password123');await page.getByRole('button', { name: 'Submit' }).click();})test('Home', async({ page }) => {await page.getByRole('link', { name: 'Home' }).click();await page.getByRole('button', { name: 'Get XPath cheat sheet' }).click();})test('Courses', async({ page }) => {await page.getByRole('link', { name: 'Courses', exact: true }).click();})test('blog', async({ page }) => {await page.getByRole('link', { name: 'Blog' }).click();await page.getByRole('link', { name: 'Read More Hard and Soft Assertions in test automation' }).click();await page.getByRole('link', { name: 'Contact' }).click();await page.getByRole('link', { name: 'Home' }).click();})test.afterAll(async({ page }) => {await page.close()})
13. Annotations in playwright
- Below are the different annotations that can be used with playwright
- only
- skip
- fail
- fixme
- slow
- Skip : when you want to skip execution of test block at that time you can use skip annotation
- code snippet:
- const { test, expect } = require('@playwright/test');test.skip('it will skil this test', async({ page }) => {await page.goto('https://practicetestautomation.com/practice-test-login/');await page.getByLabel('Username').click();await page.getByLabel('Username').fill('student');await page.getByLabel('Password').click();await page.getByLabel('Password').fill('Password123');await page.getByRole('button', { name: 'Submit' }).click();})
- Output :
- Fail: when you want to fail the test if you haven't implemented it completely
- code snippet:
- test('Want to fail the test', async({ page }) => {test.fail()})
- Output:
- skipme: When any test needs some fixes and you want to abort the test at that time you can use this
- code snippet:
- test.fixme('test to be fixed', async({page}) => {})
- Output:
- slow : When you want to slow down the test execution at that time you can use this
- code snippet:
- test('slow test', async({ page }) => {test.slow()
- only : when you want to run the specific test at that time you can use the only annotation
- code snippet:
- test.only('run only this test', async({ page }) => {})
- Output:


14. Tags in playwright
- When we want to run the test which has some specific tags only at that time we can use tags
- We can use different tags like : @smoke , @sanity etc
- Code snippet:
- test('test with tags @smoke', async({ page }) => {})
- Command to run the test with specific tag : npx playwright test .\tests\annonationsandtags.spec.js --headed --grep "@smoke"
- When you want to skip the test with specific tag at that time you can run the code using below command
- npx playwright test .\tests\annonationsandtags.spec.js --headed --grep-invert "@smoke"


Comments
Post a Comment